


A little daylight goes a long way
Solar power. Stored for later.
See how the panel and battery work together, day and night.

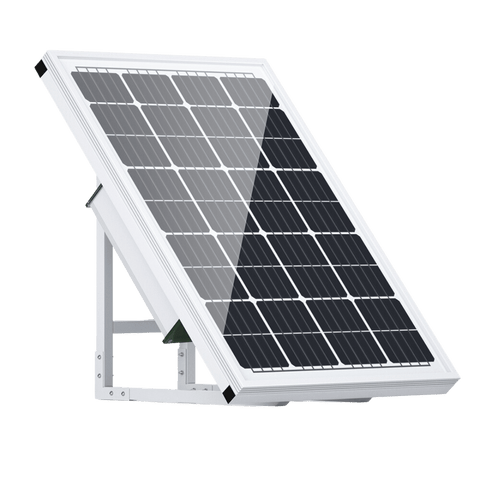
120W solar panel
Collect daylight.

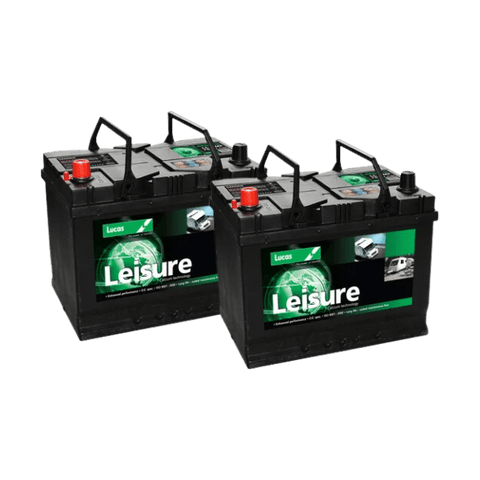
80Ah battery
Store your power.

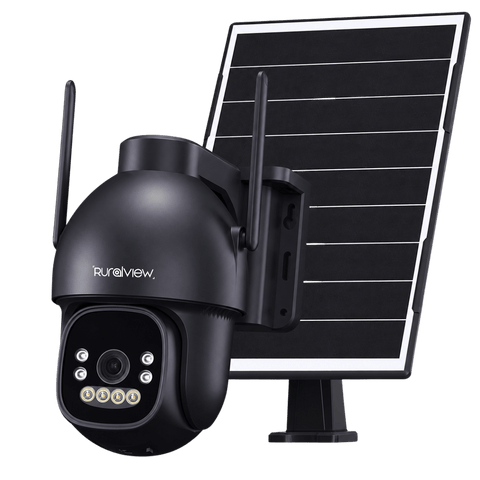
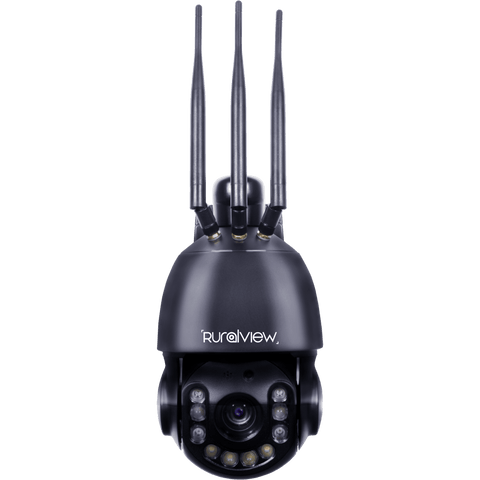
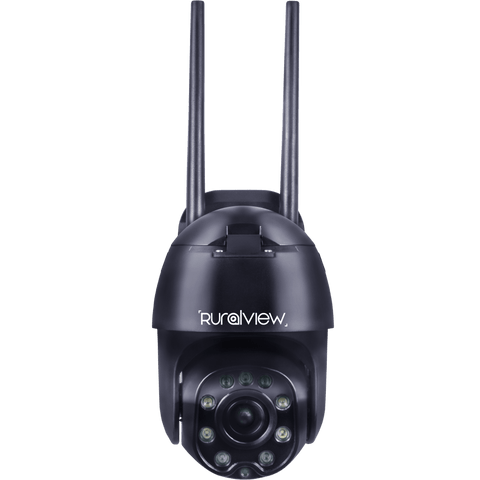
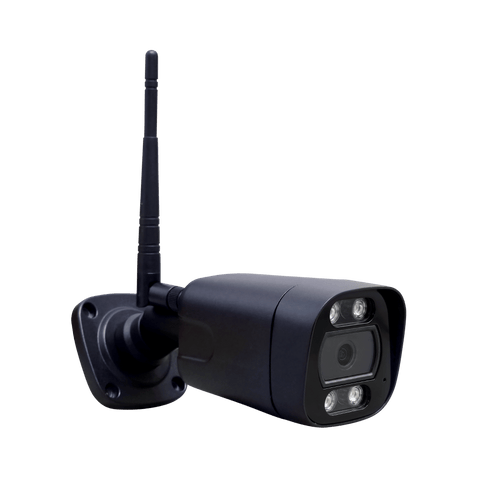
12V camera
Keep watch.
Daylight in. Power stored.
The panel captures daylight. The built-in controller manages charging, while the battery supplies your connected camera.
Stored power after sunset.
When the panel is no longer generating, your camera draws on the battery. The 360 Zoom has at least 72 hours of battery backup; runtime varies by camera.
A simple explanation of the power flow. Charging depends on daylight, shade and the season.
Know what to expect
Let’s be honest about winter.
Solar charging depends on available sunlight. We cannot guarantee uninterrupted power throughout the winter.
Less daylight. The same demand.
Our 12V cameras run continuously and can be power hungry. Short days, cloud and shade can mean the panel puts less energy back into the battery than your camera uses.
Have a backup plan.
During prolonged poor weather, the battery can run down and your camera may stop. If monitoring must stay on, plan a suitable alternative power source and keep an eye on the battery charge.
Unsure whether solar suits your location? Talk it through with our UK team.
Three parts. One power setup.
Everything works together.
Explore the panel, battery and mounting hardware supplied with your kit.

Included in your kit
Monocrystalline solar panel
A rated 120W panel turns available daylight into energy for the battery. Give it a clear view of the sky, especially when the winter sun is low.
Camera and mounting pole are not included.

Included in your kit
Power in reserve
An 80Ah lithium-ion battery stores energy for later. The built-in PWM controller manages charging and the kit provides a 12V, 5A DC output.
At least 72 hours with the 360 Zoom.
Camera and mounting pole are not included.

Included in your kit
A practical mounting setup
The solar frame and fixings are included. The supplied pole mount fits a 76 to 86mm pole. A different surface or pole size needs a suitable mounting solution.
Camera and mounting pole are not included.
Start with the right position
Set it up for the seasons.
A clear, sunny position makes the difference. Take a moment to plan where the kit will live.
1.
Find the daylight.
Choose a south-facing position, clear of shade. Check the view of the sun in winter as well as summer.
2.
Plan the mounting.
Use a suitable 76 to 86mm pole. The kit is substantial, so plan the installation with two people.
3.
Charge before connecting.
Switch the battery on and connect the panel first. Allow the battery to charge before connecting your camera.
4.
Connect your camera.
Use the correct 12V output and suitable connections. Follow the setup guide for the full installation sequence.
The details that matter
A few things worth knowing.
Before you order

A small team. Here to help.
Power for your camera.
People on your side.
From choosing the right setup to getting it connected, our UK team is here to help you make it work.
