


The RuralView installation guide
A better position.
A clearer view.
Every site is different, and you have to work with what you have. There is no single right way to position a camera. These are our recommendations to follow where possible, helping you get the best view from the buildings, power and mounting points available.

Choose the height for the job
Right camera. Right height.
Our recommended minimum is 3 metres for every RuralView camera, where practical, to help keep it out of normal arm’s reach. The Zoom can be positioned higher, up to 6 metres where suitable. Use this as a starting point and check the view on your own site.

Zoom shown at 6 metres and Mini at 3 metres, with a person for height reference. Check the final angle using your live picture.
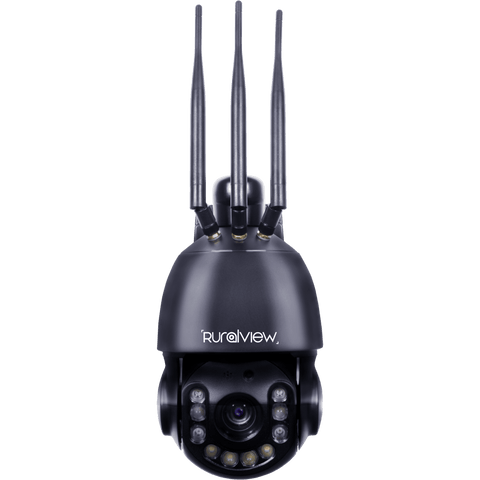
360 Zoom
3 to 6 metres
A higher view for a larger space.
Aim for a mounting height of 3 to 6 metres for the 360 Zoom, where your site allows. Its narrower starting view and optical zoom can help you look across a larger yard or into the distance.
Higher is not automatically better. Check the view of your gate or target, including the near area below the camera. For security, avoid such a steep angle that you only see the tops of heads.
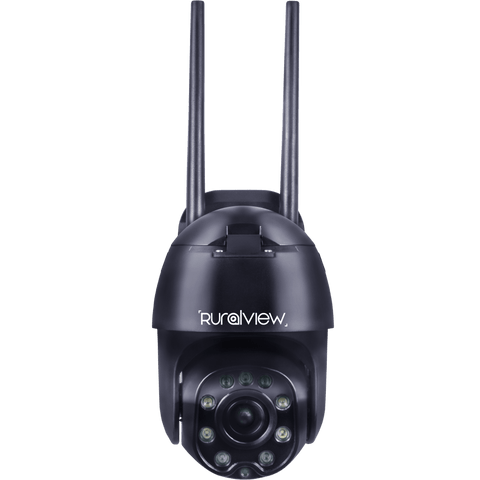
360 Mini
From 3 metres
A wider view of a closer space.
Our recommended minimum for the 360 Mini is 3 metres above ground, where practical. Its wider view can suit a lower position than the Zoom for a stable, smaller shed or nearby yard, while still keeping the camera out of normal arm’s reach. Leave room for the camera to pan and tilt without the roof, wall or a beam filling the view.
Choose the height from the live picture. Keep the camera out of easy reach and clear of animals, vehicles and doors. There is no single height that suits every site.
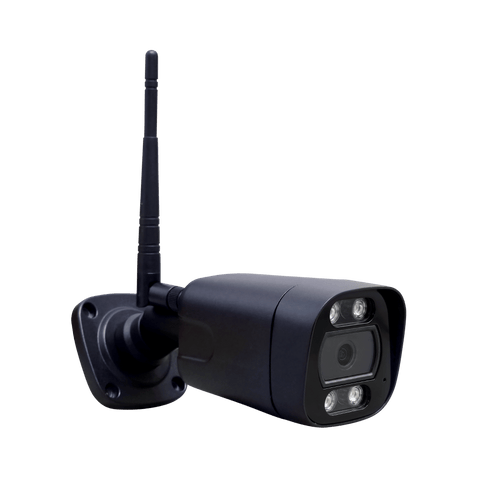
Bullet
From 3 metres
Set one useful view.
Aim for our recommended minimum of 3 metres above ground for the Bullet, where your site allows. Its wider view can suit this lower position overlooking a gate, doorway or yard. As a fixed-view camera, its final angle matters: frame the place where you want to see activity.
Check the edges of the picture and the detail at your target distance before tightening the bracket. Keep the camera and cable out of easy reach.
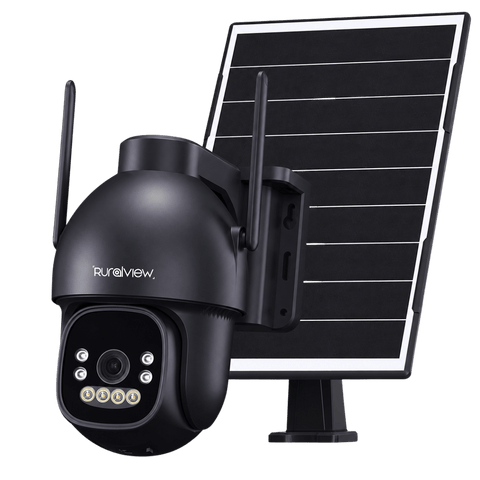
Solar 4G
From 3 metres
A clear view. A south-facing panel.
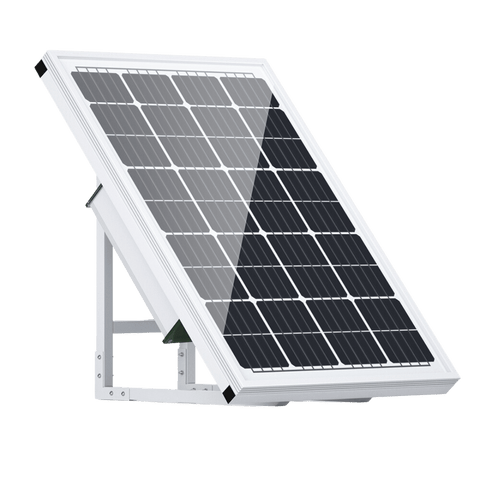
Our recommended minimum for Solar 4G is 3 metres above ground, where practical. Choose a position with a clear view for the camera and a south-facing solar panel in full sun, clear of shade.
Mounting in a tree can leave the panel shaded by branches and leaves, reducing charging. Check for shade at different times of day and as foliage grows. Follow the kit’s mounting arrangement; charging also depends on the season and camera use.
Prepare and test at ground level first. For high mounting, use a competent installer and suitable access equipment. Follow the camera’s own installation instructions and keep future cleaning and maintenance in mind.
Give the camera a steady base
A clear view starts with a solid fixing.
Wind can move a flexible pole or loose bracket, making the picture shake. Movement can be especially noticeable when you zoom in.

The RuralView Bullet shown at the recommended minimum of 3 metres. Choose suitable fixings and a stable pole for your site.
On a pole or post
Use a sturdy, securely fixed pole or post with a bracket suited to the camera. Avoid flimsy fence posts and anything that moves when a gate opens or machinery passes.
On a wall or building
Fix into a sound surface. Keep clear of loose cladding, unstable boards and flexible roof edges. Allow moving cameras enough space to turn freely.
Protect the connections
Secure the cable so it cannot flap, pull or catch. Use the correct outdoor connectors or a suitable weatherproof enclosure. Follow the kit instructions for sealing and drip loops; an outdoor camera does not make every cable joint weatherproof.
Real weather. Honest expectations.
What rain and mist do to the view.
Outdoor cameras still look through the weather. These familiar examples explain why a good position helps, and why some conditions can still reduce visibility.

Rain on the lens
Like rain on your glasses.
Wear glasses out in the rain and droplets can blur or distort what you see. Water on a camera’s lens cover can do much the same, even when the camera itself is working.
A sheltered position can reduce rain landing on the lens. Keep the lens cover clean, following the camera’s care instructions. A blurred wet picture on its own does not prove that the camera is faulty.

Rain & mist at night
Think of a torch in fog.
Shine a torch through heavy rain or mist and the light catches the droplets in front of you. The distant view becomes harder to see. A camera’s night lighting can be scattered back towards the lens in a similar way, creating a pale haze or bright specks.
Fog also hides detail across the scene. More light or a different setting will not always overcome the weather. Check the view again in clearer conditions, and test the installation after dark.

More shelter
Tucked away, with a clear view.
A position beneath a suitable eave can reduce exposure to driving rain and help keep the lens clearer. Keep it clear of gutter drips, roof runoff and spray, while allowing room for the camera to move.
Shelter is useful, but do not bury the camera behind leaves, a beam or glass. Nearby surfaces can reflect night lighting back into the lens. Shelter cannot remove fog from the field. For Solar 4G, keep the panel facing south in full sun, clear of roof and tree shade.
Before you drill
Check the whole setup.
A useful view needs power, a reliable connection and a clear path to the area you want to watch.
01
Test the connection there
Check WiFi or 4G at the actual mounting point. For a WiFi test, turn mobile data off on your phone. Where possible, power and connect the camera temporarily before making permanent fixings.
The Zoom and Bullet have separate WiFi/wired and 4G versions. The Mini switches between WiFi and 4G. Solar 4G uses a SIM only.
02
Plan the power route
Mini, Zoom and Bullet need a suitable external 12V DC supply. Route cables away from livestock, sharp edges, doors and vehicle routes. Have any mains electrical work carried out by a qualified electrician.
For Solar 4G, position the panel facing south in full sun. A tree mount can shade it with leaves or branches and reduce charging. Check changing shade and charging as the seasons change.
03
Keep the important area clear
Frame the gateway, pen or approach you actually need to see. Avoid close branches, hanging cobwebs and a wall filling the picture. Check glare at different times of day.
Keep the view focused on your own area. Think about neighbouring homes, shared access and public paths before fixing the angle.
Finish with a real-world check
Test it in daylight. Then after dark.
A view that looks good at lunchtime can behave differently at night. Make these checks before calling the job finished.
In daylight
- Walk through the area you want to watch and check how much detail you can actually see.
- For Mini or Zoom, try the pan, tilt and zoom positions you plan to use. Check for obstructions.
- Check that the camera stays steady, the connection holds and a short recording plays back.
After dark and as weather changes
- Look for glare from a nearby wall, gutter, glass or foliage. Adjust the position if it spoils the view.
- Walk through your chosen detection area and check the alerts and recording settings for your camera.
- After wind or rain, check the image and inspect accessible fixings and cables safely. Clean the lens cover as the camera instructions advise.
A small UK team, on your side
Let’s get your position right.
Work with the site you have. If the recommended position is not practical, tell us about the mounting points, the view you need, and the power and signal available. Our UK team can help you find a sensible setup.
A few useful answers
Before you tighten the last fixing.
Camera drawings use RuralView product photos as references. They illustrate the installation principles rather than specifying fixings. Always follow the instructions supplied with your camera and mounting equipment.