
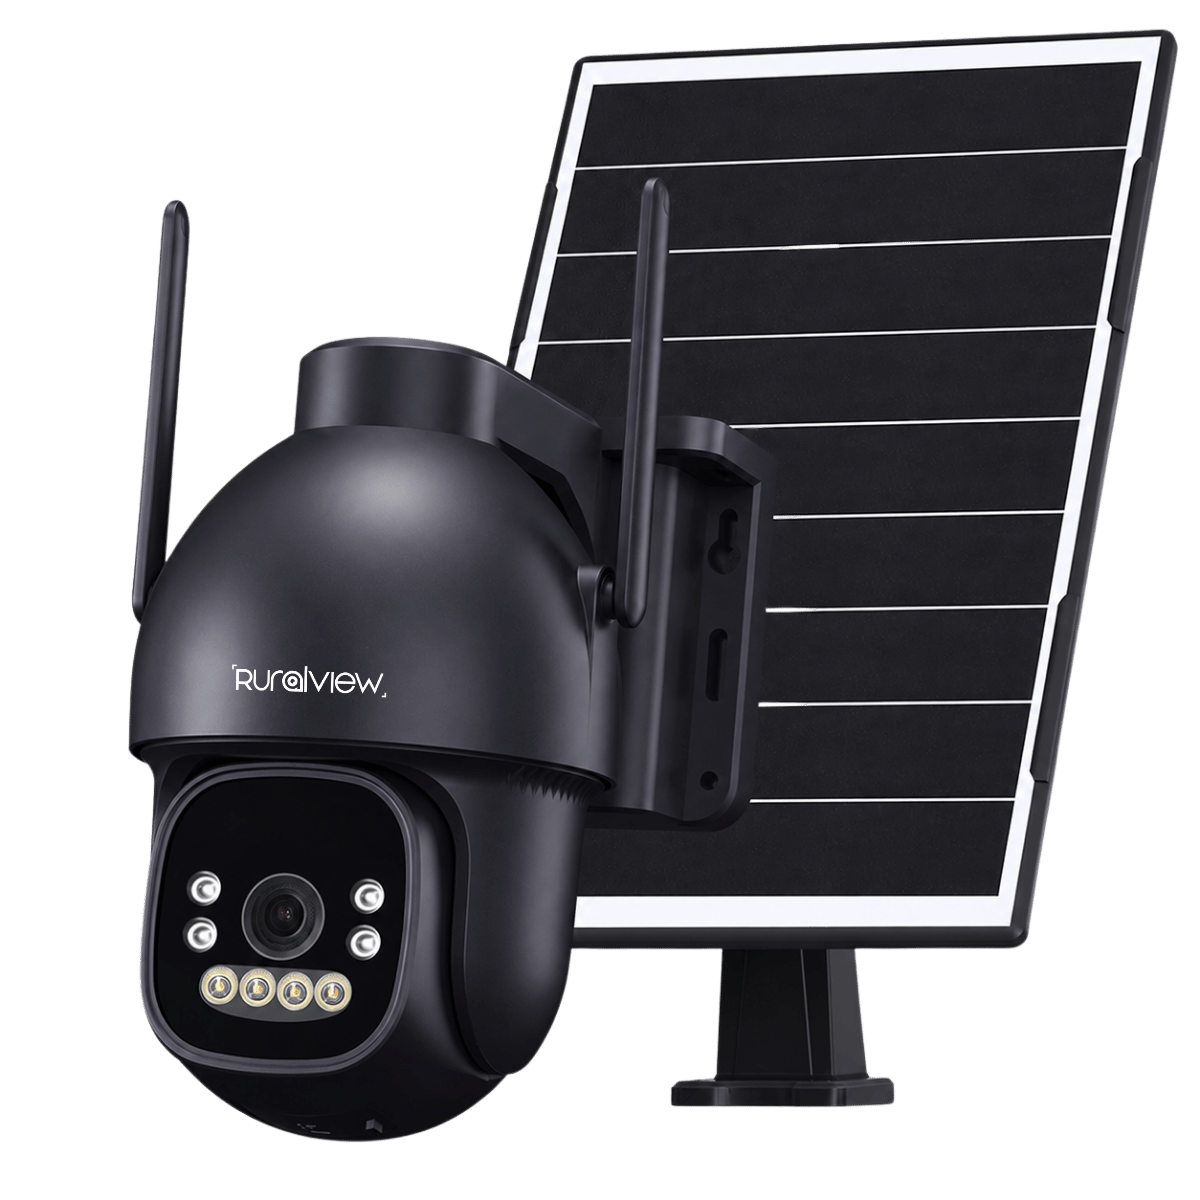
Setup your Solar Kit.
Due to the size and weight of this solar kit, we recommend you need two people when installing. For first use, please turn on your battery and connect the solar panel without a camera. Allow the solar kit to charge until the battery shows 12(v) or above.

| Letter | Use |
|---|---|
| A | Battery Switch. Ensure battery LED is lit. Battery will not charge or output power if the switch is off. |
| B | Battery Voltage. This diplays your battery voltage. 12.6 is the highest voltage. |
| C | Solar Panel Status LED: Green - Solar panel has power Green Flash - Battery overvotage (contact us) No Light - No charge from solar panel |
| D | Battery Status LED: Green - Battery Normal Green Flash - Battery fully charged Red/Green flash - Battery Low Voltage |
| E | Battery Status LED:
Yellow - Battery On Yellow Quick Flash - Short curcuit Yellow Slow Flash - Output overload |

| Letter | Use |
|---|---|
| A | Solar Panel Input. Connect this to the cable that comes out of the back of the solar panel. |
| B | Camera Connection. This is your 12v output. Connect this to your camera. |
| C | 12.6V Input. This connection is used to charge the camera using a 12.6v charger. You can also connect 12v wind turbines using this port. Do not use the power the cable that comes with the camera as this can damage the battery. |


